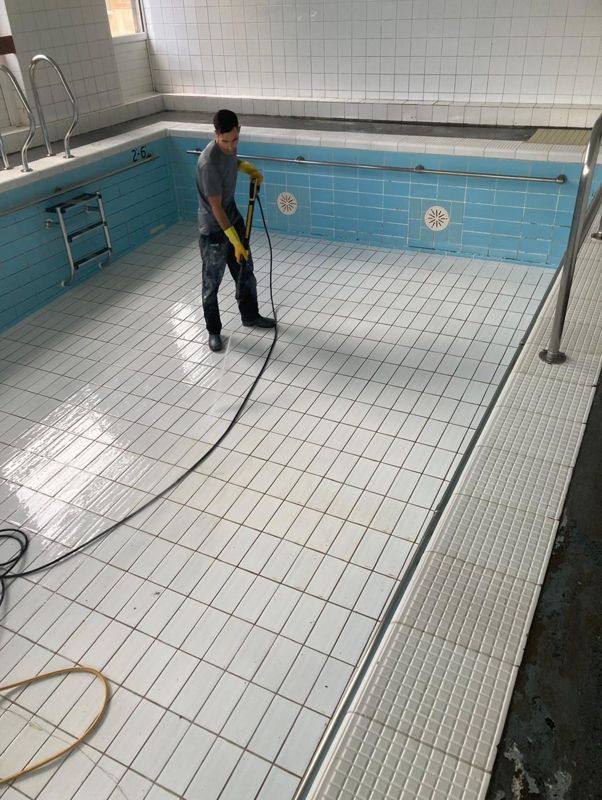
Work through five stages: write down the problems and the pool's history, inspect the pool once it is drained, agree a written scope based on what the inspection finds, plan the closure with cure and refill time included, and walk the finished work before refill. Treat it as a set of prompts for the right questions, not a fixed programme.
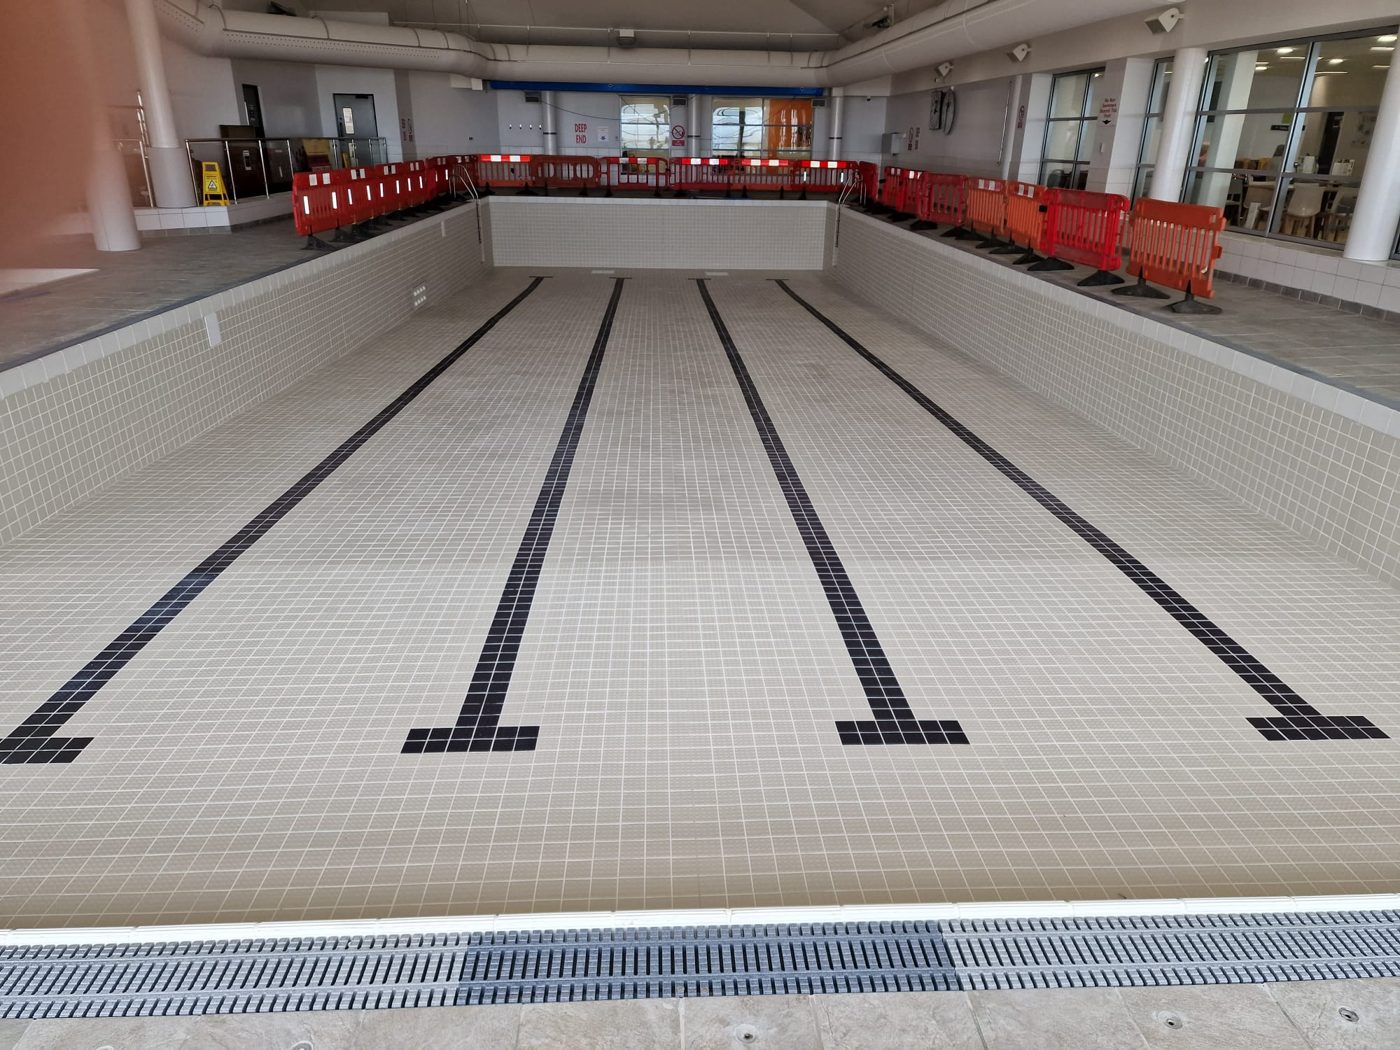
What the checklist is for
A refurbishment pulls in several people at once: the tiler, whoever runs the plant and water treatment, and often other trades, all inside a closure that rarely feels long enough. Small things get missed. A movement joint that needs renewing, or a step nosing with a long lead time, tends to surface late.
None of this is a specification. Use it to prepare before you talk to a specialist, so nothing important is left to assumption.
Before anyone visits, write down what you already know
The people who run the pool usually know more about its history than anyone else. Get it on paper before the survey. It saves time on the day and tells the contractor how the finish has behaved.
- Where problems appear: loose or cracked tiles, missing grout, staining, sharp edges or leaks.
- When problems were first noticed and whether they are getting worse.
- Any previous repairs, regrouting or retiling, and roughly when they were done.
- Drawings, original specifications or tile details if you have them.
- Water loss records, if the pool has been losing more water than expected.
- Photos of problem areas taken while the pool is full and, if possible, when it was last drained.
Inspection once the pool is drained
Most defects can only be judged with the pool empty, safe to access and dry enough to see. Expect tap testing to find hollow-sounding tiles, a look at grout depth and condition, a check of movement and perimeter joints, and close attention to steps, channels, outlets and edges.
Tapping tells you where to look, not what has failed. Tile size, the background, any membrane and the original fixing method all change the sound. Where the cause or extent is unclear, lifting a tile or cutting a small test opening shows the adhesive bed and background directly.
- Map hollow-sounding, cracked, loose and missing tiles.
- Note grout that is eroded, soft, stained or missing.
- Check movement and perimeter joints for failed or hardened sealant, or rigid grout where a flexible joint should be.
- Look closely at steps, nosings, corners, channel edges and around fittings.
- Record any areas where the background or render may be damaged.
Agreeing the scope
With the findings in front of you, compare the options: cleaning, local tile repairs, regrouting, background repairs, a part retile or a full retile. Which fits depends on the shell, waterproofing, tile bond, background, movement joints and water conditions. Let the evidence set the scope, not a standard package.
Get the scope in writing: which areas are in, which are out, and how extra work found under lifted tiles will be priced and approved. Repair edges often move once tiles come up, so leave room for that.
Planning the closure
The programme has to cover drain down, cleaning, the works, cure time for adhesives, grouts and sealants, refill, heating, water treatment and checks before reopening. Cure depends on the products and on temperature and humidity in the pool hall. Put it in at the start, because it is the first thing people try to squeeze at the end.
Plan access for materials and equipment, welfare facilities, storage, and dust and noise control. Name the person on your side who can make decisions if something unexpected turns up.
- Confirm dates for drain down and refill with whoever manages your plant and water treatment.
- Check lead times for tiles, especially special colours, nosings or lane markings.
- Agree working areas, access routes and protection for adjoining finishes.
- Plan communications to members, guests, pupils or residents.
During the works
Stay in regular contact. Hidden defects and programme risks should be raised as soon as they are found, so decisions are made while the pool is still empty rather than after refill.
If extra work is found, ask to see it before it is covered up. Photos of opened areas are worth keeping for the next maintenance plan.
Handover and refill
Before refill, walk the pool with the contractor. Look for grout that is full and evenly finished, movement joints that are complete and still flexible, repaired tiles sitting flush, and tile faces free of residue or haze.
Refill and dosing wait until the installed products have cured to the point their manufacturers specify for immersion. Ask for any guidance on refill rate, water balance and first cleaning in writing, so your pool team has it to hand.
Keeping records for next time
File the inspection findings, the agreed scope, the products used (with tile and grout batch details) and photos of the finished work. Next time the pool is drained you can see what has changed instead of starting from scratch.
Common questions
Do I need to drain the pool before getting a refurbishment quote?
Not always for an initial discussion. Photos, the pool history and a description of the problems help a contractor give a sensible view. A thorough inspection, including tap testing and checking joints, usually needs the pool drained and safely accessible, so the scope may be refined at that stage.
What should a refurbishment scope include?
The areas and tasks included and excluded, the adhesive and grout system proposed, how movement joints will be treated, and how defects found during the works will be reported and agreed. Cure and refill time should sit in the programme, not be left to whatever days remain.
Can a refurbishment be done in stages?
Sometimes. Some operators address the most urgent areas first and plan further work for a later closure. Whether that makes sense depends on the condition of the pool and whether the remaining defects are likely to worsen or affect safety.