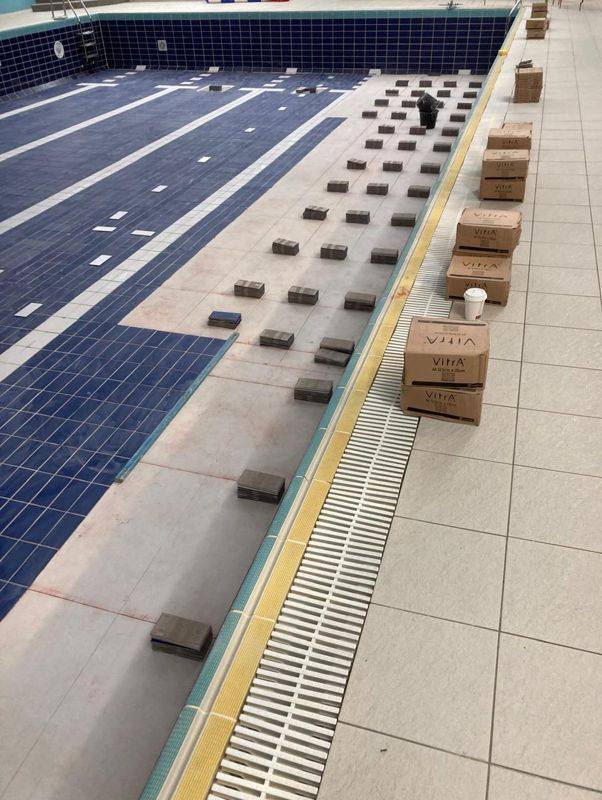
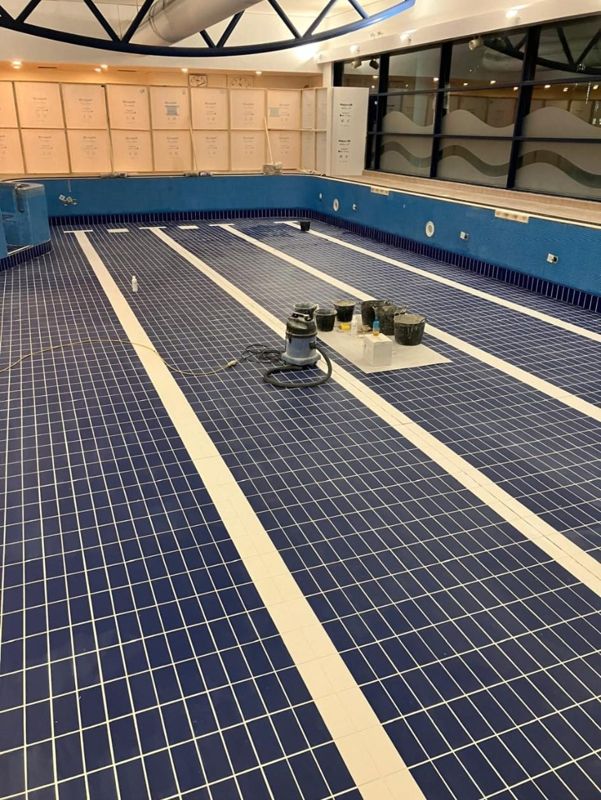
Hollow swimming pool tiles give a dull or drummy note when tapped, which can mean a void beneath the tile or a lost bond between tile, adhesive and background. A tap test screens for this but does not prove failure. Tile size, render, membranes and fixing method all change the note, so doubtful areas may need a tile lifting to see underneath.
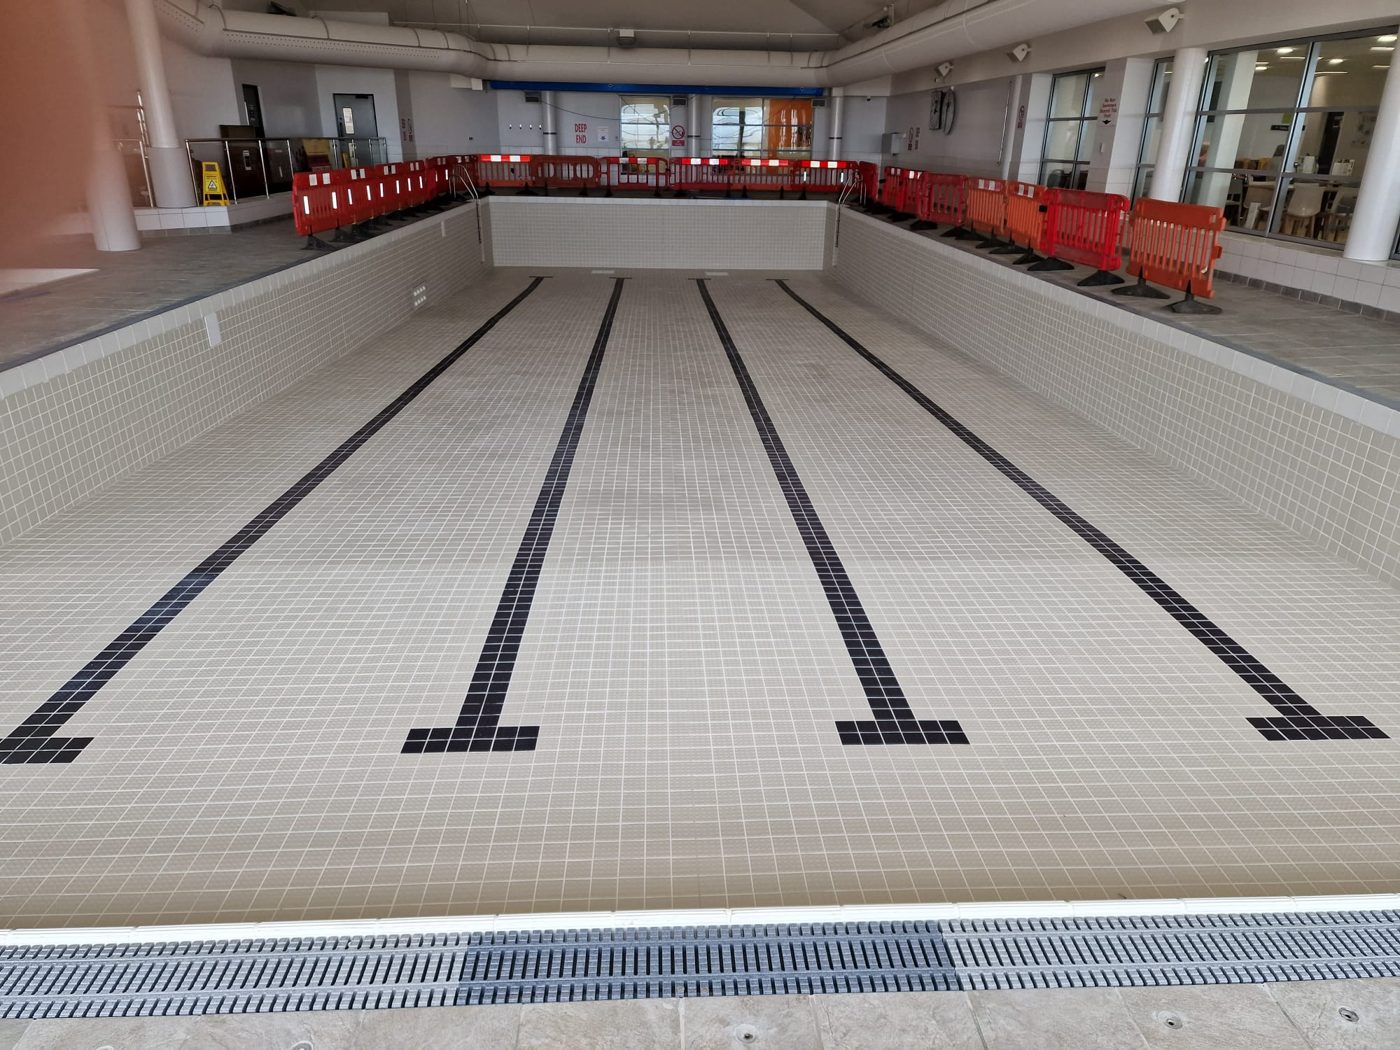
What a tap test is
A tap test is a simple, methodical way of finding possible voids or debonding in a tiled surface. Once the pool is drained, safe and dry enough to work in, each tile is tapped lightly with a small hammer or similar tool and the note compared with its neighbours.
Well-bonded tiles generally give a solid, consistent note. A duller, hollow or drummy sound marks a tile for closer attention. The findings are mapped so they can be read alongside cracks, grout condition and the pool's history.
Why the sound alone proves nothing
The sound a tile makes depends on more than its bond. Large tiles can sound different from small ones, and mosaic behaves differently again. Membranes, render types, levelling layers and the original fixing method all affect the note.
Some tiles sound hollow and stay put for years. Others sound fine but have poor adhesive coverage behind them. The test tells you where to look, not what to do.
What can cause a hollow sound
The cause matters because it decides the repair. A tile that has lost bond to its adhesive is a different job from a section of render that has come away from the structure.
- Incomplete adhesive coverage, for example where tiles were spot-bedded rather than solidly bedded.
- Loss of bond between adhesive and tile, or between adhesive and background.
- Render or screed that has itself separated from the shell beneath.
- Movement that has gradually broken the bond, often near corners, steps and changes of plane.
- Water that has worked into the bed over time.
How findings are mapped
On a pool of any size, recording is as important as testing. Hollow areas are marked or plotted, often on a simple plan of the pool, along with cracked tiles, open joints and any areas that feel loose.
The plan shows at a glance whether the problem is isolated, clustered or spread across the pool, and that is usually where the conversation about a targeted repair or a larger refurbishment begins.
When a test opening is needed
Where the cause or extent is uncertain, lifting a tile or a small area can show what is going on. It reveals adhesive coverage, whether the bed is sound, and whether the background is firm.
Test openings should be planned rather than opportunistic. They take time, they need making good afterwards, and they should be placed where they answer a real question.
Where hollow tiles tend to show up
Some parts of a pool are more demanding than others. Steps, entry points and the junction between walls and floor take concentrated loads or movement. Areas around inlets, outlets, lights and channels have more joints and changes of material. Deep ends and sumps can be harder to fix in the first place.
Hollow readings clustered in these places are not unusual and can sometimes be dealt with locally. Hollow readings spread evenly across a whole floor or wall can point instead to the original fixing method or to the background, which tends to need a broader response.
Hollow tiles on walls deserve particular attention, because a tile that comes away from a wall falls, whereas one on a floor is held in place by gravity and its neighbours for longer.
What happens next
If hollow areas are isolated and the surrounding work is sound, the affected tiles can often be cut out and replaced locally. How far the repair goes is decided once the tiles are up and the bed can be seen, not by a line drawn beforehand.
If hollow areas are widespread, or the render behind is failing, a larger repair or a partial or full retile may make more sense. Either way, you get a plain account of what was found and the options before any work is agreed.
A note on safety and access
Tap testing is done with the pool drained, the working area made safe and proper access to walls and deep ends. A drained pool has its own hazards: wet and slippery floors, a fall from the edge or a ladder, and tight spaces around sumps and outlets.
For operators, HSE guidance in HSG179, Health and safety in swimming pools, is a useful general reference when planning closures and works.
Common questions
Do hollow swimming pool tiles need replacing straight away?
Not always. A hollow sound alone is not proof of failure. If a tile is also cracked, loose, lifting or surrounded by failing grout, it should be assessed promptly. Otherwise it is noted and considered alongside the other findings.
Can you tap test a pool while it is full?
A meaningful tap test needs the pool drained and the surface accessible. Water changes the sound and makes systematic testing impractical, although a diver or swimmer may spot loose or missing tiles.
How often should a pool be tap tested?
There is no fixed interval that suits every pool. Many owners use planned drain-downs, or the appearance of loose or cracked tiles, as the prompt. A record from each test makes it easier to see whether hollow areas are growing.
Can hollow tiles be injected instead of replaced?
Injection systems exist for some tiling situations, but in a pool their suitability depends on the cause, the materials and immersion conditions. In many cases removing the tile allows the bed and background to be inspected and repaired properly.